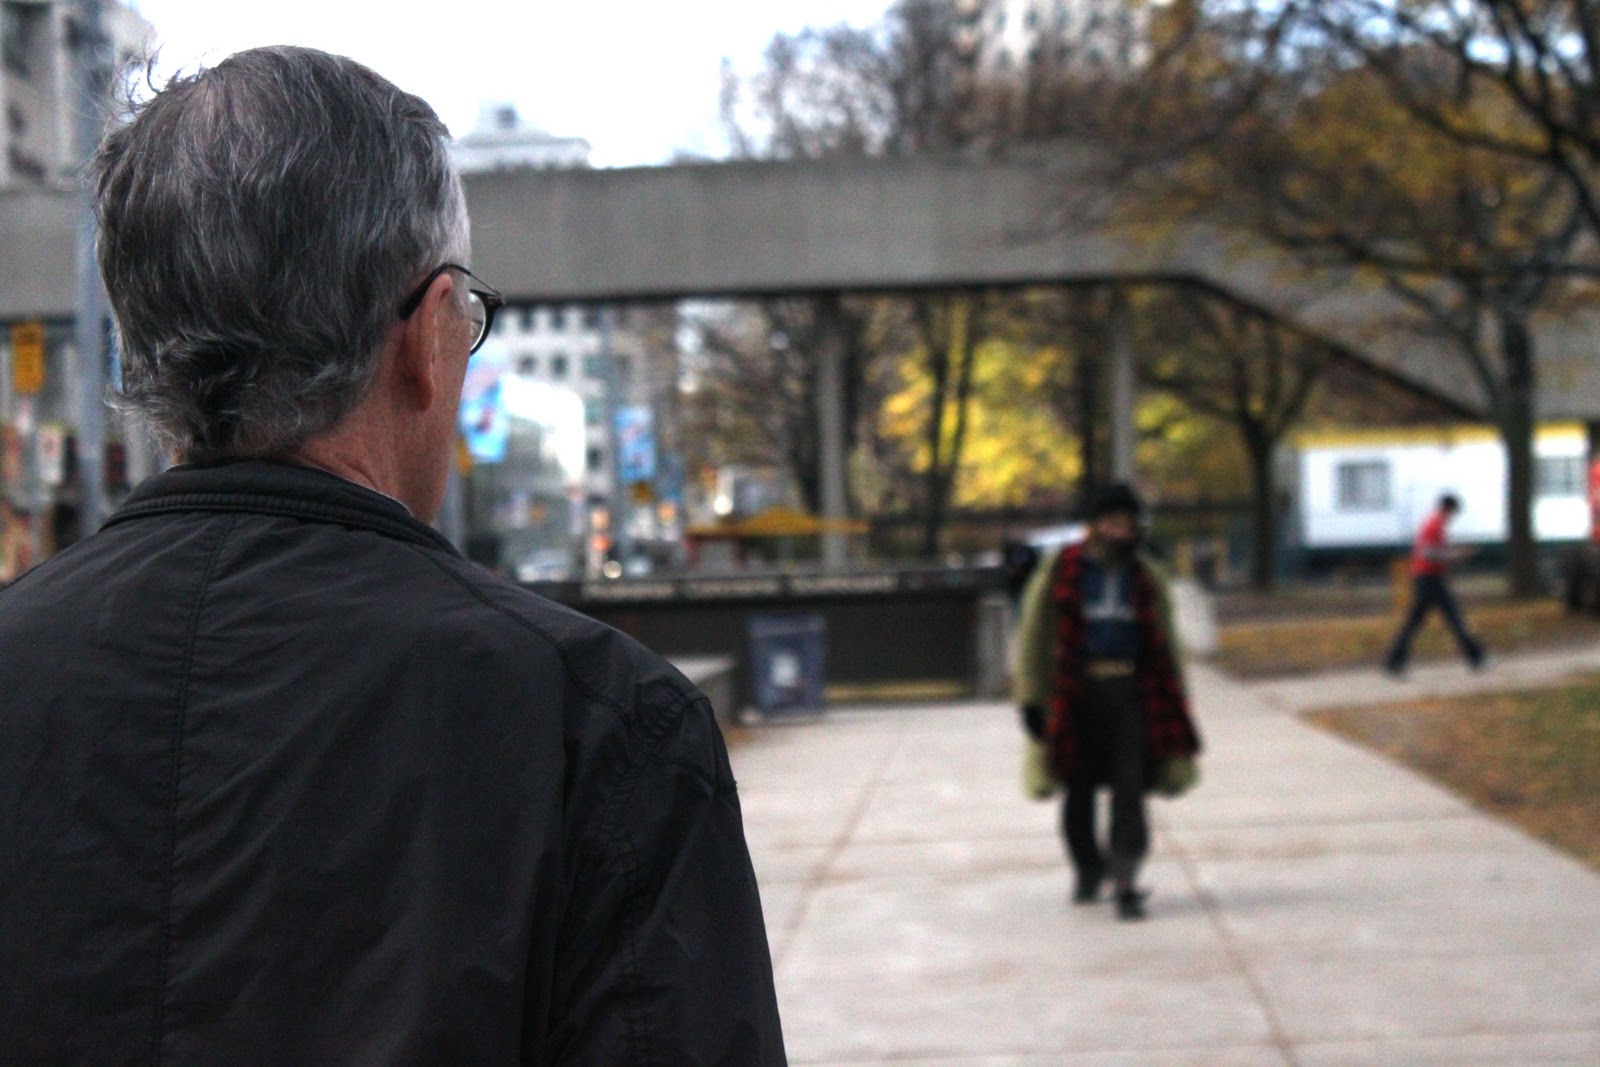
Saturday, 14 January 2012

Stephen Shore

          Stephan Shore is an American photographer. Self taught, he became an amazing photographer by the age of 17. At only 24 his work was put at a solo exhibition at New York’s Metropolitan Museum of Art. He was the first living photographer to have a solo exhibition at the New York Metropolitan Museum of Art. But what makes his work so unique? Stephan Shore is mostly known for his expressionless images of ordinary scenes and objects, and for use of color photography, which was uncommon at the time.

         Stephen Shore was known for his photographs because they are things you see everyday. The way Stephen photographed these places is what made him become famous. In the picture below Stephan shows something we all commonly use. Something that you see everyday but the focal point is shown at a different angle, and from a different point of view. A simple gas station in Los Angeles. At the time color photography was expensive and not commonly used. This also made the photo more appealing.


La Brea Avenue and Beverly boulevard, Los Angeles

          Stephen’s photos are common things we see everyday. In the photo below he demonstrates another thing that we commonly use in everyday life. Stephen Shore's photos are also known for their time period. The photo below was taken in an older time period than today. If we look at these photographs today we can see the differences between then and today. In the photograph below we can see that the television, the table and even the suitcase are very different from things we have today. Taking the simplest room with only a few common house hold object’s, he changes the point of view completely.

                  The photo below also is a prime example of Stephen’s work. At the time color photos were very expensive. They also were not used all the time. Stephens photo below shows a lot of color and has very crisp colors. This made his photo at the time more appealing to the viewers. This picture is also makes the person looking at it think.


Stephan Shore is commonly known for his images of ordinary scenes and objects, and for use of color photography. Every photograph Stephan Shore takes has meaning. Each one creates a different feel and manipulating the point of view his pictures make you think. Stephen uses uncommon places to show different points of view. 

Sunday, 8 January 2012

Alternative Process


This alternative process is called gel medium. In this process you take a picture you have taken, print it, and place it on a board. You then hold it down using tape and paint the gel onto the picture. I chose to make a laptop case. For my laptop case I needed twice the amount so I printed off two pictures. I started by brushing a thin layer vertically across the paper. Every time it dried I would put a thin layer the opposite way. This would make it thicker and stronger. Once I put around 15 layers on I waited until it dried and then put it in water. From there I scrubbed the paper off until it was as see through as possible. I then stretched it to make it fit the top of my laptop and used wires to make it stay on. The picture I used was one of the pictures from below (breaking the rules).
 

Toronto

Monday, 19 December 2011

Silk Screen

For this project I used a picture that I already had. I took out the background in photoshop so that when I put it through the silk screen you would only be able to see the bodies. I thought this picture was perfect because it has a meaning. Also the clothing is perfect. The man on the right has a different coloured suit. This puts emphasis on him being separate. I put the picture in the corner of the shirt because i thought that if it was in the middle it wouldn't look as nice. This way your eye is drawn to the corner of the shirt using rule of thirds.

Friday, 2 December 2011

Double Exposure


This picture is called a double exposure because in order to make it you expose two different pieces of film on the same piece of photo paper. To do this you have to set the timing precisely so that you don't make either of the photo's to dark. In other words it is like manually photo shopping two pictures together. In order to do this I started with the picture of the girl's face. I made sure that I set the magenta to a perfect level so that I could get the black's and white's I wanted. Once I got this picture right, I set up another enlarger with the other picture. This picture i wanted to have a little darker so that it would show up on her face. To do this I made the exposure time a little bit longer. I also had to make sure that the tree would fit on her face the way I wanted it to. To do this i had to make sure that the tree was smaller. Then once both enlarger's were ready I started with the larger picture. I used a piece of cardboard to blur out the part where the tree would be. This is so that there wouldn't be an overlap in the photo's. I then did the same thing with the other enlarger. I used a piece of cardboard to cover the rest of the photo so that it wouldn't get over exposed. Overall it took me multiple trial's. Each photo came out differently because of the way the cardboard was being held or the positioning of the tree.

Thursday, 3 November 2011

Painting With Light 3


For all of the photo's in painting with light I used the Canon Rebel T1I. To create each of these pictures I had to put the shutter speed very high. Most of the pictures were taken with a 25 second shutter speed however some were more and some were a little less depending on how much light I wanted to have in the picture. I then used a different version of the light in each picture. Depending on the way I turned the flash light or the way it faced the camera would give me different results. Another thing that changed from picture to picture, was the how long I turned the light on for. If the light was on longer it would have made it brighter in the picture. I tried to use different variations of lighting to create a variety of photographs. 

Painting With Light 2

Painting With Light


Thursday, 27 October 2011

Portrait 3


For each of these photo's I used the Canon Rebel t1i. Depending on the lighting I adjusted the apparture and shutter speed to make sure each picture wasn't to light or dark. For this portrait I used two lights. I used one light on each side. The light on the right side of her face is more noticeable because it was placed closer to her face. The one on the left was placed above her head and slightly more to the middle to help decrease the shadows from her eyes and nose.

Portrait 2

infront 

In this picture I also used the Canon Rebel T1i. I placed one light on the left side of her face and one but slightly to the right. I then was using the light reflector to angle more light onto her forehead. The person who moved the light reflector created wind and I put it on a small shutter speed in order to capture the moment and have all her hair up in the air.

Portrait


In this picture I also used the Canon Rebel T1i. I placed lights on the right and left side in order to create an even amount of light. The light on the right side was further away in order to dim the light on the right side. I also enjoy her facial expressions.

Tuesday, 25 October 2011

Inside / Outside Lighting

           This Project involved Inside and Outside lighting. To create the inside lighting on the top of his forhead, I simply asked him to stand under a light. The light was located inside in the english halway. I then used the light from behing him coming from outside. I used the silver reflector to refelect the light coming from outside onto his face. The light used from the sun also lights up the back of his head. Although you cannot see this light, you can see a bit of it coming over his shoulder or off of the side of his face or his head. Using inside and outside light I was able to mix light colours and contrasts to creat a nicer light. I also used where the light was coming from to my advantage. The light above i used so there was no shadow on his forhead. I then angled the reflector up to create less shadow under his eyes. Overall using both types of light made the picture look and feel more real.

Thursday, 20 October 2011

Back to the Renaissance


This painting is from the Renaissance. The renaissance is from the 14th to 17th century.The original painting is of Napolean Bonaparte. Napolean was an early explorer. He was a general of a french army. The camera I chose to use is the Canon Rebel, I shot at a shutter speed of 50 because I wanted to be able to get in as much light as possible. I looked at the lighting of the original then after multiple trials I finally got the correct lighting. I moved the lights up and down to change the shadow on his forehead. I also moved the lights further and closer to Tabe's face to create a different lighting. The original picture has more light on the right side of his face so I also did this to Tabe's face to make it look more alike. I found this image in an art history book. Once i found this pictrue it interested me. The lighting on his face created little shadow from his nose. I though the lighting would be a challange to recreate. I then took the final picture and cropped his face into it. I changed the contrast and saturation to make the colour of the skin the same. I then shrunk his face and cropped out his body, to ensure it looked like it was his actual face.