Sunday, 8 January 2012

Alternative Process


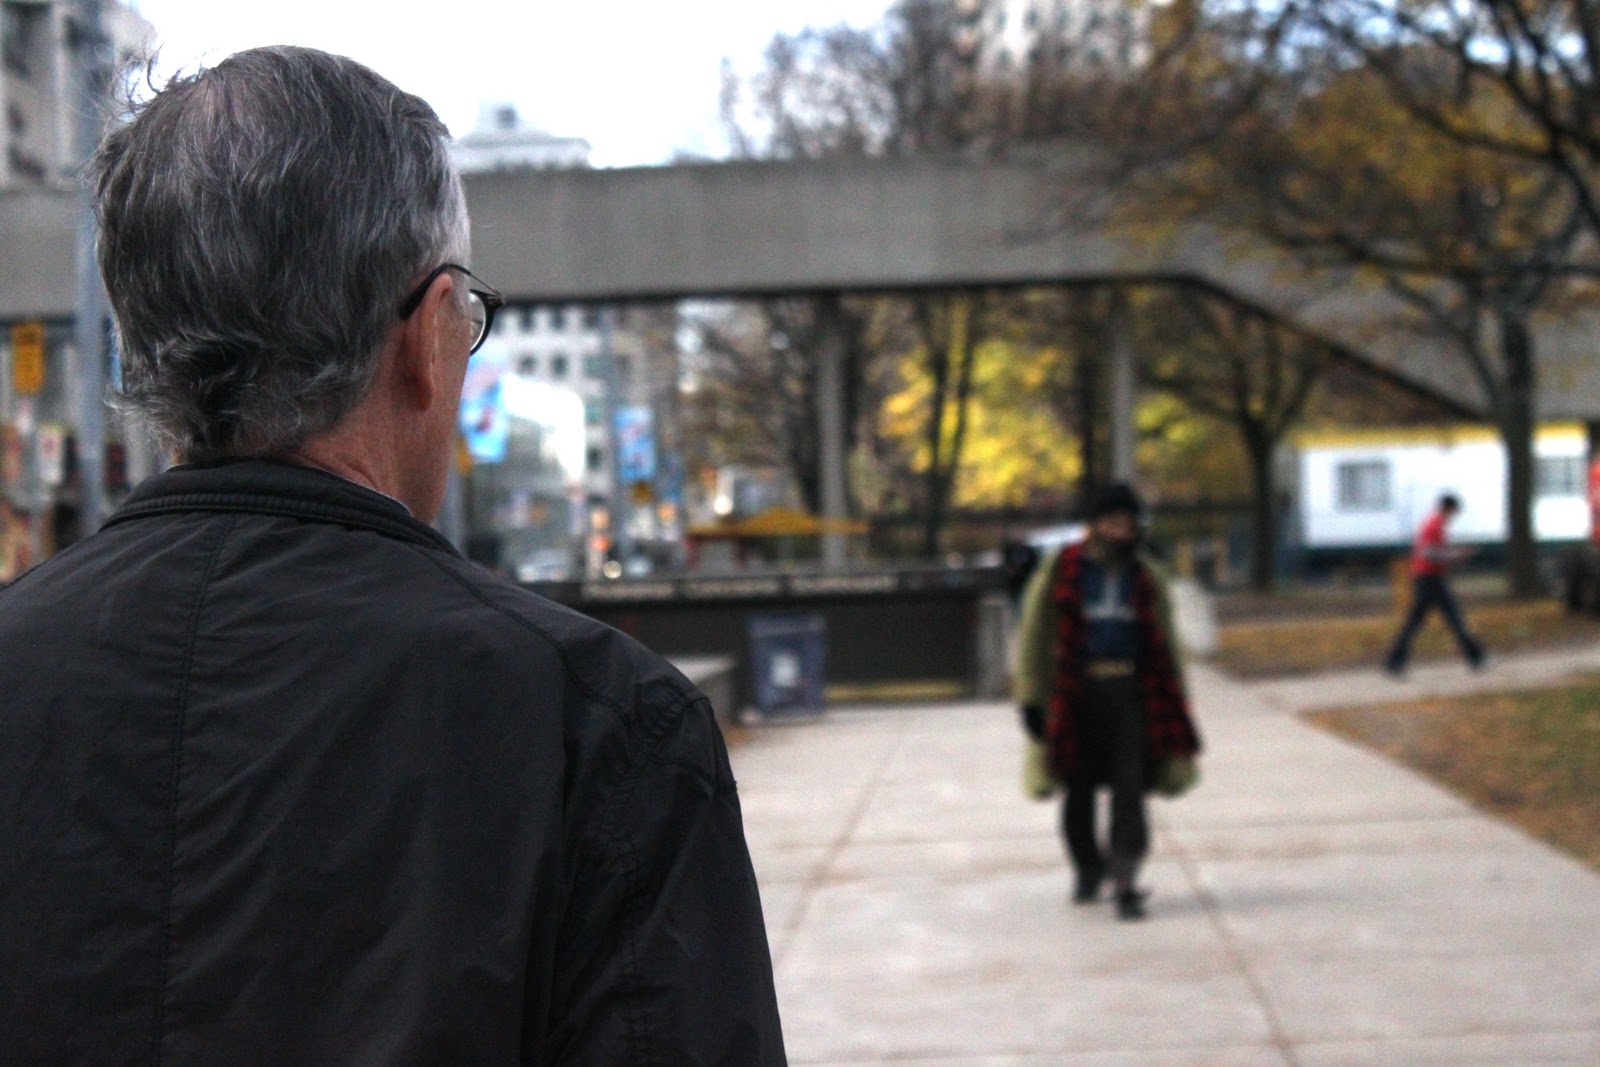
This alternative process is called gel medium. In this process you take a picture you have taken, print it, and place it on a board. You then hold it down using tape and paint the gel onto the picture. I chose to make a laptop case. For my laptop case I needed twice the amount so I printed off two pictures. I started by brushing a thin layer vertically across the paper. Every time it dried I would put a thin layer the opposite way. This would make it thicker and stronger. Once I put around 15 layers on I waited until it dried and then put it in water. From there I scrubbed the paper off until it was as see through as possible. I then stretched it to make it fit the top of my laptop and used wires to make it stay on. The picture I used was one of the pictures from below (breaking the rules).
 

Toronto

Monday, 19 December 2011

Silk Screen

For this project I used a picture that I already had. I took out the background in photoshop so that when I put it through the silk screen you would only be able to see the bodies. I thought this picture was perfect because it has a meaning. Also the clothing is perfect. The man on the right has a different coloured suit. This puts emphasis on him being separate. I put the picture in the corner of the shirt because i thought that if it was in the middle it wouldn't look as nice. This way your eye is drawn to the corner of the shirt using rule of thirds.

Friday, 2 December 2011

Double Exposure


This picture is called a double exposure because in order to make it you expose two different pieces of film on the same piece of photo paper. To do this you have to set the timing precisely so that you don't make either of the photo's to dark. In other words it is like manually photo shopping two pictures together. In order to do this I started with the picture of the girl's face. I made sure that I set the magenta to a perfect level so that I could get the black's and white's I wanted. Once I got this picture right, I set up another enlarger with the other picture. This picture i wanted to have a little darker so that it would show up on her face. To do this I made the exposure time a little bit longer. I also had to make sure that the tree would fit on her face the way I wanted it to. To do this i had to make sure that the tree was smaller. Then once both enlarger's were ready I started with the larger picture. I used a piece of cardboard to blur out the part where the tree would be. This is so that there wouldn't be an overlap in the photo's. I then did the same thing with the other enlarger. I used a piece of cardboard to cover the rest of the photo so that it wouldn't get over exposed. Overall it took me multiple trial's. Each photo came out differently because of the way the cardboard was being held or the positioning of the tree.